It seems that often a DIY moment in the kitchen happens when a convenient pantry item is not available (i.e. I forgot to purchase it at the store) and I don’t have the time or ability to go (back) to the store.
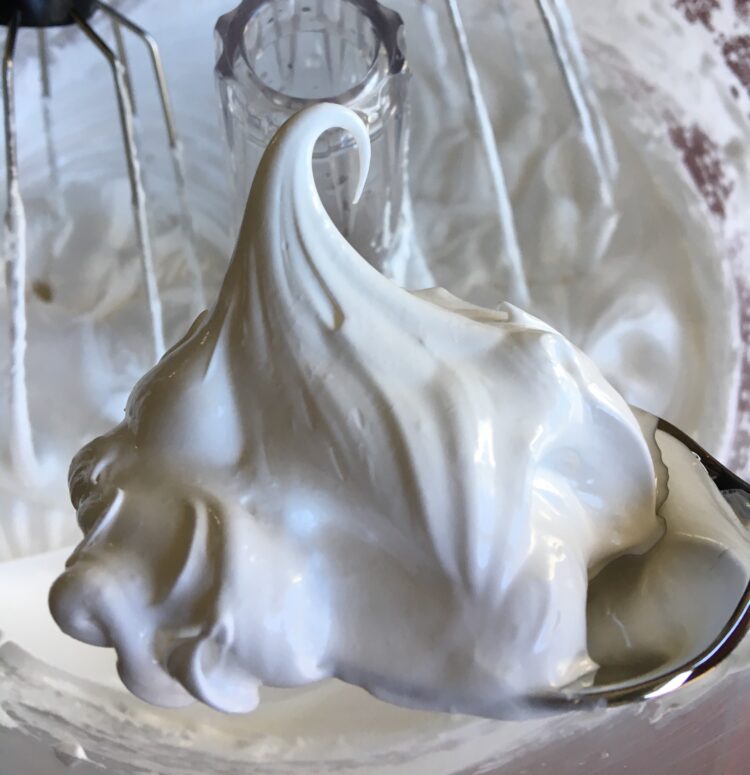
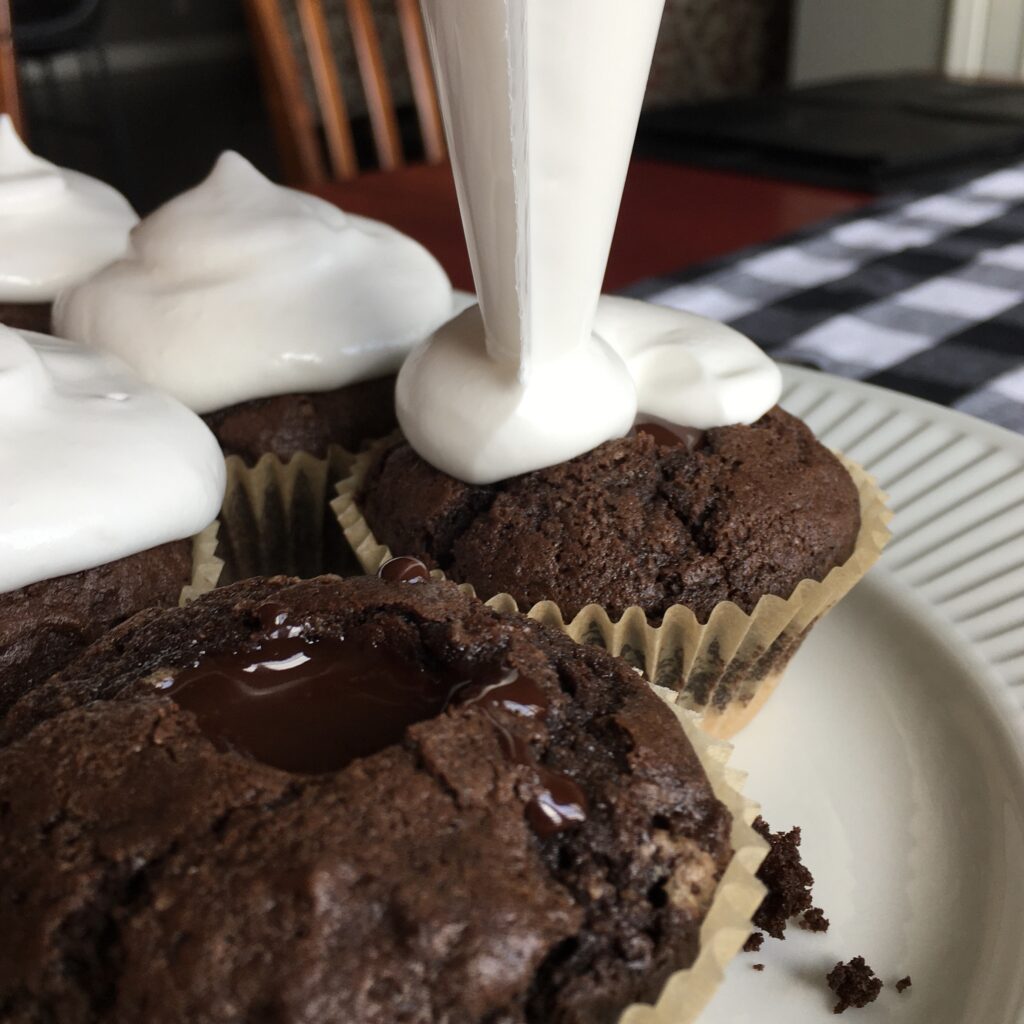
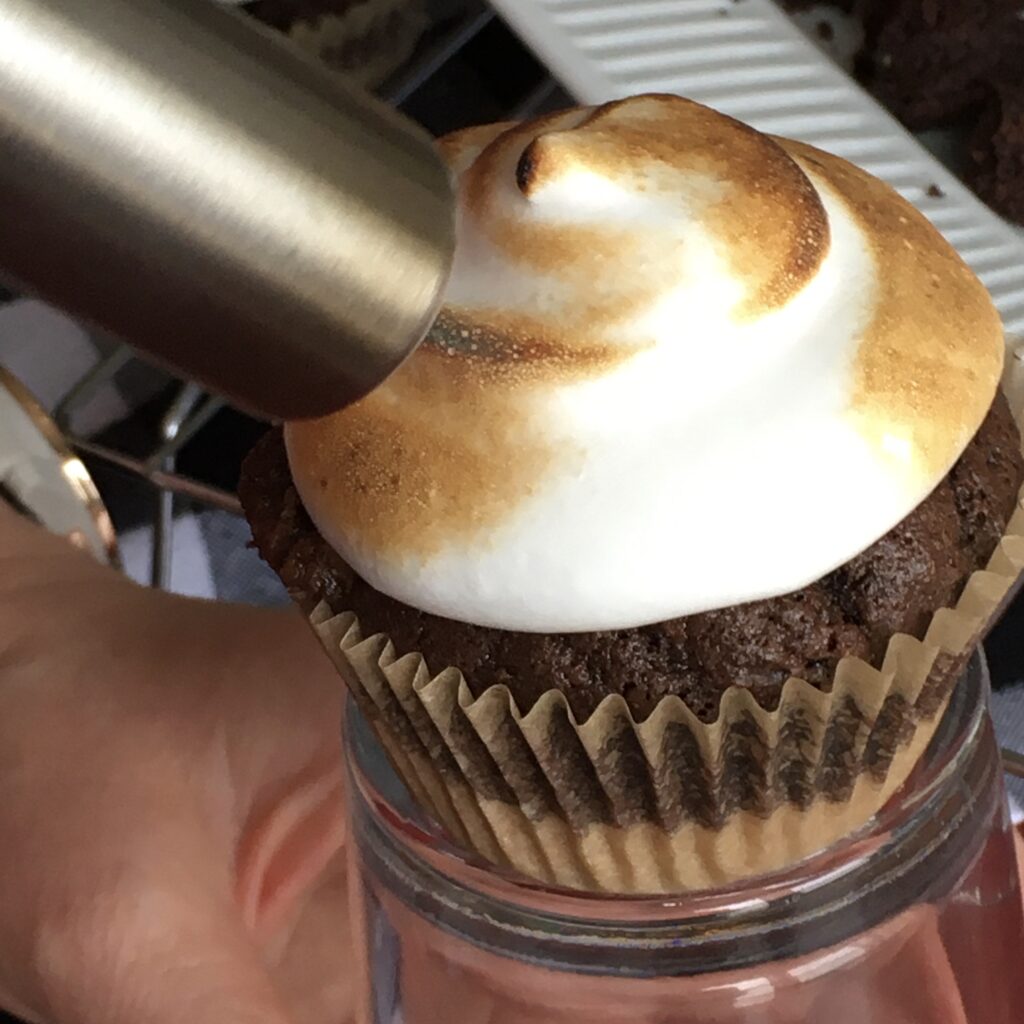
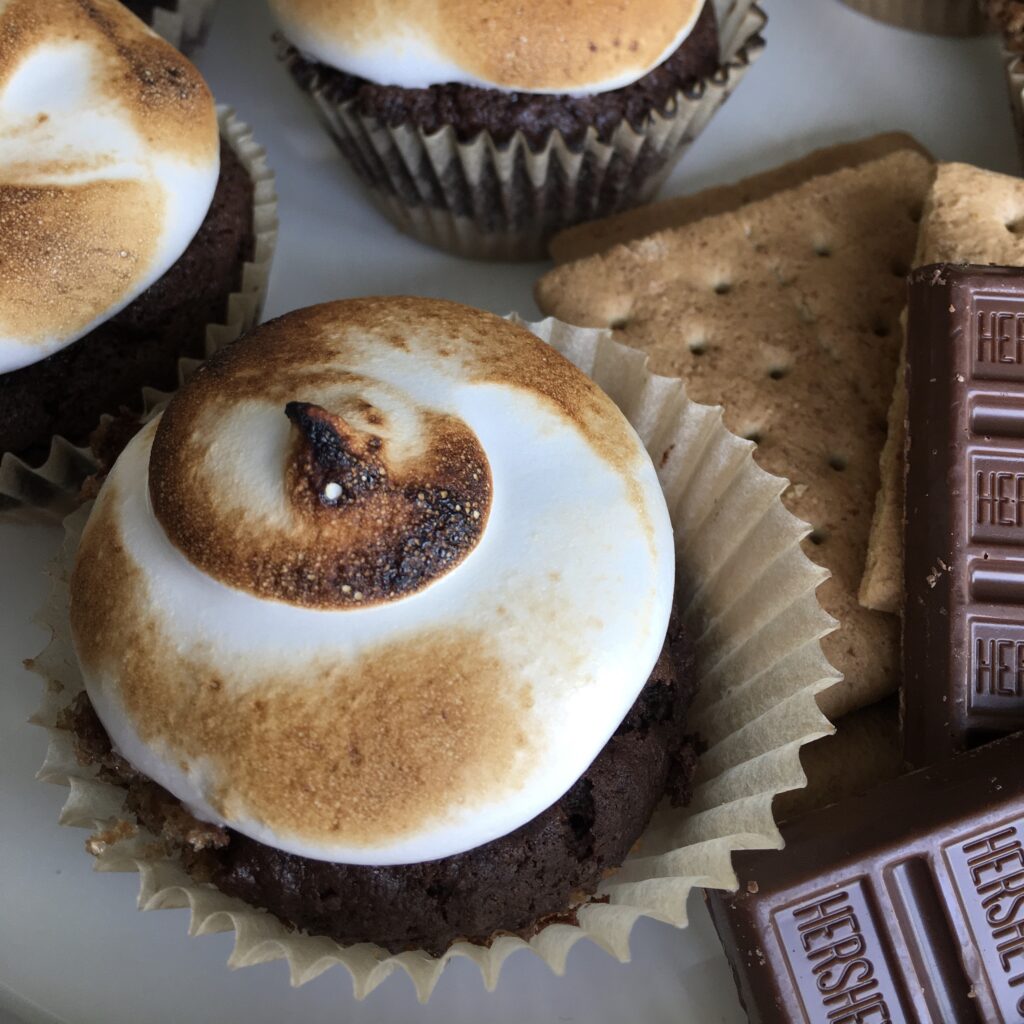
That was how I ended up making marshmallow fluff the first time. The result is pretty amazing and surprisingly simple. It’s the perfect filling for chocolate cupcakes that are going to be DIY Hostess cakes. I use this fluff most often as part of the whoopie pie filling I make and also on top of cupcakes as a marshmallow frosting. Torching or broiling this fluffy topping on a baked good will give it that campfire roasted flavor that the kid in all of us craves from time to time.
I remember eating marshmallow fluff from the jar as a kid on peanut butter sandwiches or just on graham crackers. You can definitely repeat that with this fluff. It’s messy, but all the best things in life are! Kids, pets, family dynamics…..marshmallow fluff.
It helps to have the egg whites at room temperature before beginning.
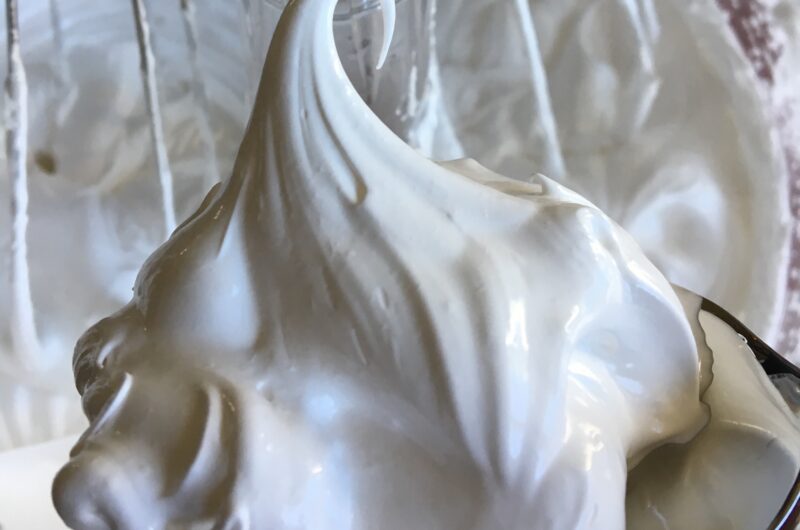
When pouring the hot sugar syrup into the whipped egg whites, I recommend pouring the syrup onto a spatula that is angled toward the side of the bowl. This will prevent the hot sugar syrup from hitting the whisk and creating hardened sugar strands.
This fluff can be made ahead 3-5 days and kept in a cool part of your kitchen. Place plastic film directly on the surface and seal with a tight fitting lid.
I hope you’ll share your ideas for how to use this delectable fluff! Post to the comments.
Marshmallow Fluff
Course: Dessert4
cups5
minutes20
minutesIngredients
1 cup granulated sugar
1/4 tsp cream of tartar
pinch of vanilla salt (sea salt is fine)
1/3 cup water
2 large egg whites, room temperature
1 tsp vanilla extract
Directions
- In a small, stainless-steel or enameled saucepan, gently stir together water, sugar, cream of tartar, and salt. Heat the mixture over medium heat without stirring.
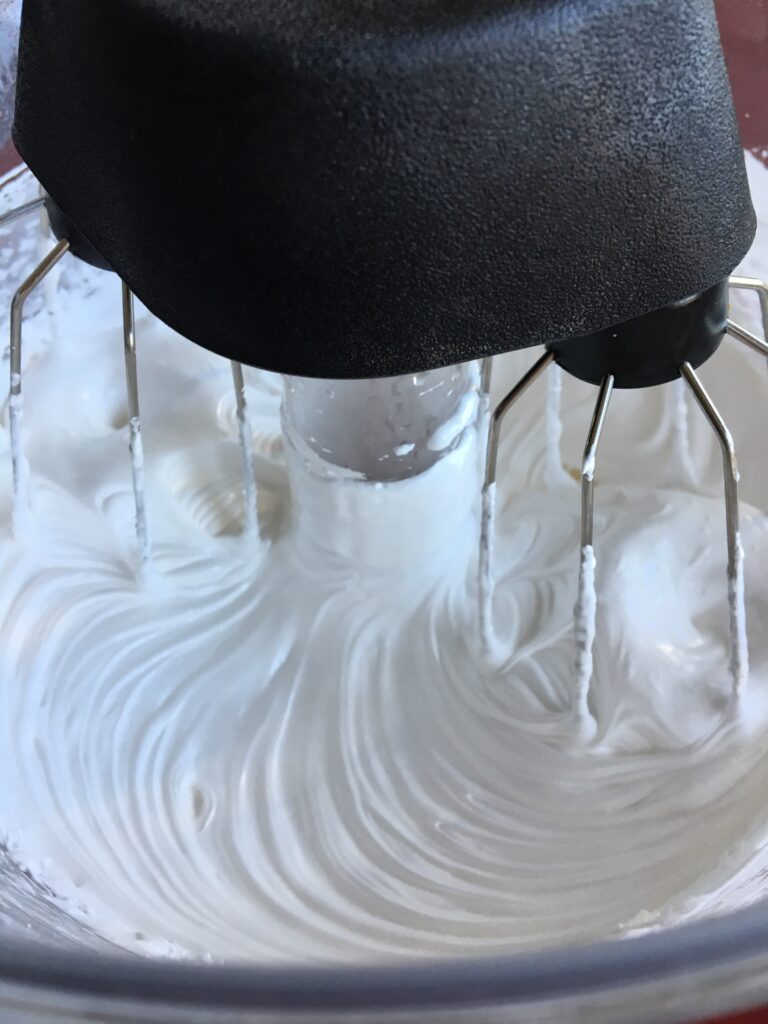
- While the sugar mixture is heating, prepare a stand mixer or hand mixer with whisk attachment. If you are using a hand mixer, you will need a buddy for step 4. Whip the egg whites on medium-high speed until soft peaks form, about 2 minutes. Turn off the mixer. Leave the whipped egg whites in the bowl.
- Once the sugar mixture shows the first signs of bubble and begins to boil, boil for exactly 3 minutes. The mixture will become thicker, the sugar should be dissolved, and small bubbles should be present on the surface of the sugar. DO NOT STIR! (If your mixture is starting to turn yellow, you’ve boiled too long and will need to start a new batch of sugar mixture.)
- With the mixer on medium speed, slowly stream the hot sugar syrup into the egg whites. I recommend angling a rubber spatula toward the outer side of the mixing bowl and pouring the sugar syrup onto the spatula. It will then easily run down the side of the bowl, avoiding the whisk. If the syrup hits the whisk directly, you’ll get hardened sugar pieces in your fluff. Increase the speed to high and beat until stiff peaks form, about 7 minutes. During the last 15 seconds, beat in the vanilla until just incorporated.
- If you’re not using the fluff right away, store in a cool part of your kitchen in a glass or plastic container. Place plastic wrap directly on the surface of the fluff and seal with an airtight lid. Fluff will keep for 3-5 days (depending on coolness of where you store it).