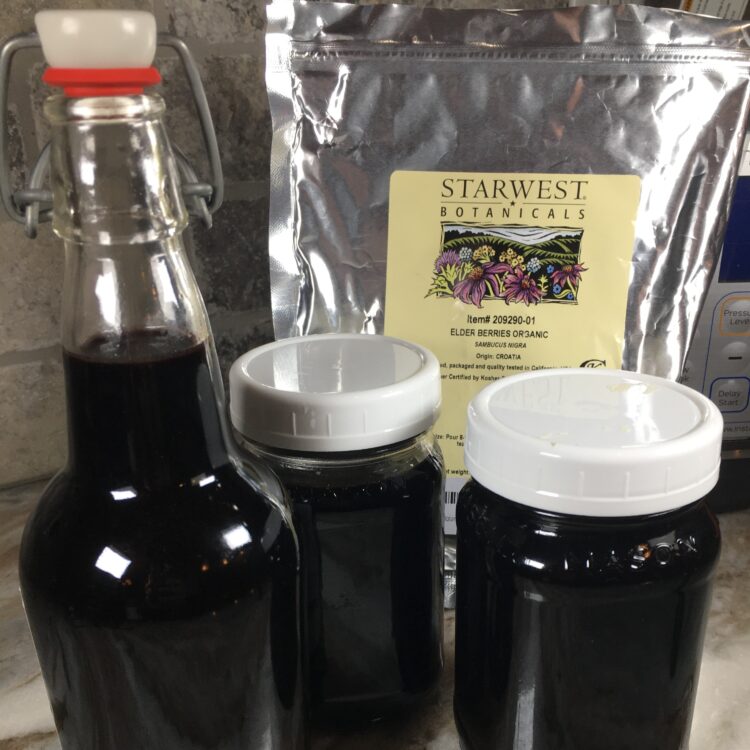
It’s Wednesday, and I had planned a Wellness Wednesday post relating to MS. Then my spouse came down with the flu and my son came down with strep throat. Boy, could we use some wellness over here! I scrapped my original idea and instead took pictures while I made a batch of elderberry juice last night to replenish our dwindling supply.
Elderberry juice and elderberry syrup are essentially the same thing. I think they are sometimes marketed interchangeably. Syrup tends to have a lot of processed sugar and is thicker because it is cooked down more and the sugar acts as a thickener. Juice is made with essentially the same ingredients, has the same benefits as syrup and can be made without processed sugar or additional cooking time.
I began using elderberry with my family three years ago on the recommendation of a friend. I purchased a bottle at the store and whenever one of us had a respiratory anything, the kids and I took doses of the juice. It was hard to know if it was really helping at the time, but it certainly wasn’t hurting. Other than the cost, it really wasn’t a big deal. My husband refused and rolled his eyes; as he often does when first introduced to an all-natural adjustment within our home. Let me share how he has changed his tune when it comes to elderberry.
Last year, all four of us came home from visiting family over the holidays with the same brutal cold. We were all miserable. The kids and I took elderberry and my husband did not. Guess whose cold lasted almost 10 days longer than the rest of us? Yup. I then found research based evidence that elderberry can reduce the intensity and duration of cold and flu. The official endorsement of the western medical authority- that sealed the deal. Now everyone in my family takes elderberry whenever one of us is sick, and extra doses for the person who is sick.
Do you still need convincing? Check out this article: https://www.medicalnewstoday.com/articles/323288.php
I have read varying dosage recommendations for elderberry. Here’s how we do it in our home. Kid: 1 tsp in the morning for immunity boost, 2 tsp morning and 2 tsp evening if sick. Adult: 1 T in the morning for immunity boost, 2 T in the morning and evening if sick.
Now, let’s talk about the one drawback of elderberry. Cost. A 13.5 ounce bottle of local elderberry juice at my grocery store is $28.00. Even Amazon runs about $20 for 8 ounces. That’s about $2 an ounce. YIKES!
Never fear my good fellows! It’s easy to make elderberry juice at home for about $0.50 an ounce. Another great thing about making elderberry juice at home is that you can use local honey to enhance nutritional and health benefits, and you can tailor the flavor a little. Like spice? Add cloves and nutmeg. Avoiding citrus? Leave it out. It’s a flexible recipe. I would always try to keep the ginger and cinnamon included though. The following recipe makes 48 ounces. Enough to get a family of four through a couple months of sick season! At around $18 to get you through 2 months, it’s way less than you’ll spend on a even 1 extra week of Mucinex.
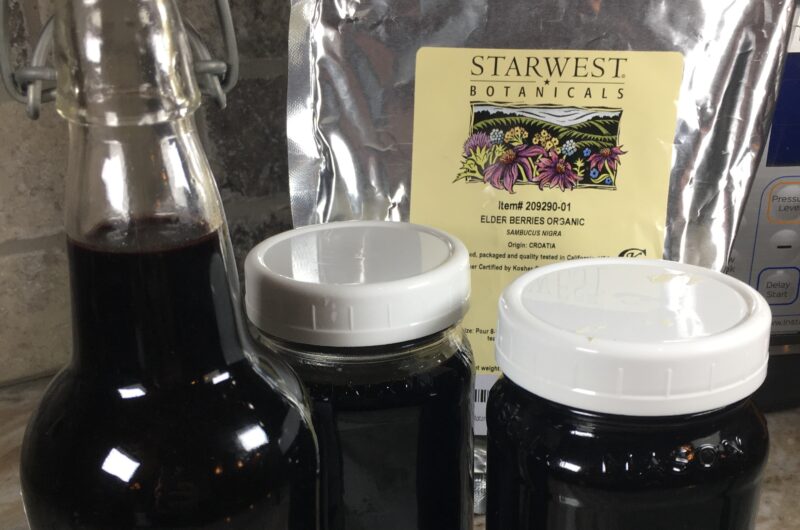
I order organic dried elderberries on amazon for about $24.00 a pound. Wherever you get your berries, just make sure that they are not sprayed with pesticides. One pound of dried berries makes about 2.5 batches. Each batch makes 48 ounces of juice. I use my Instant Pot to make the elderberry juice quickly.
Special note: Raw elderberries are poisonous. Do not eat elderberries before cooking them!
Let’s also consider the health benefits of all the ingredients that go into this supplement.
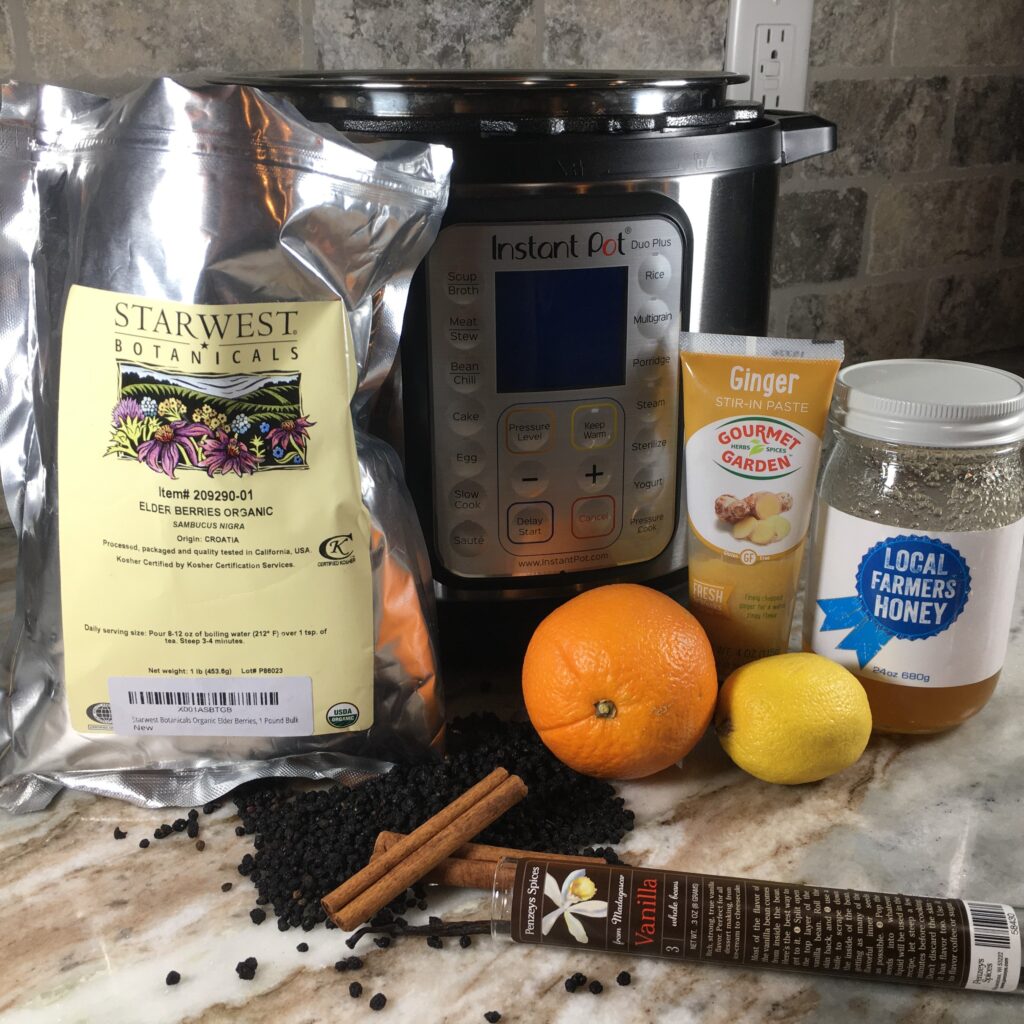
Ingredients:
2 cups dried elderberries- full of antioxidants and boosts immunity
1 Tablespoon ginger- antioxidants, anti-inflammatory, helps with nausea and digestion, can assist with fighting infection
1 Orange (zested and juiced)- high vitamin c, promotes healthy immune system
1/2 lemon (zested and juiced)- high vitamin c
2 cinnamon sticks- antioxidants, anti-inflamatory, can help fight fungal infections
1 vanilla bean pod (split and seeds scraped)- can help reduce cholesterol and inflammation
1/2 cup LOCAL raw honey- local honey can assist with allergy resistance, all honey is full of antioxidants, is anti-inflammatory, antibacterial, and has wound healing properties.
Pretty amazing ingredients huh? And easy to find. The vanilla can be skipped, or swapped for some vanilla extract or vanilla paste.
Procedure:
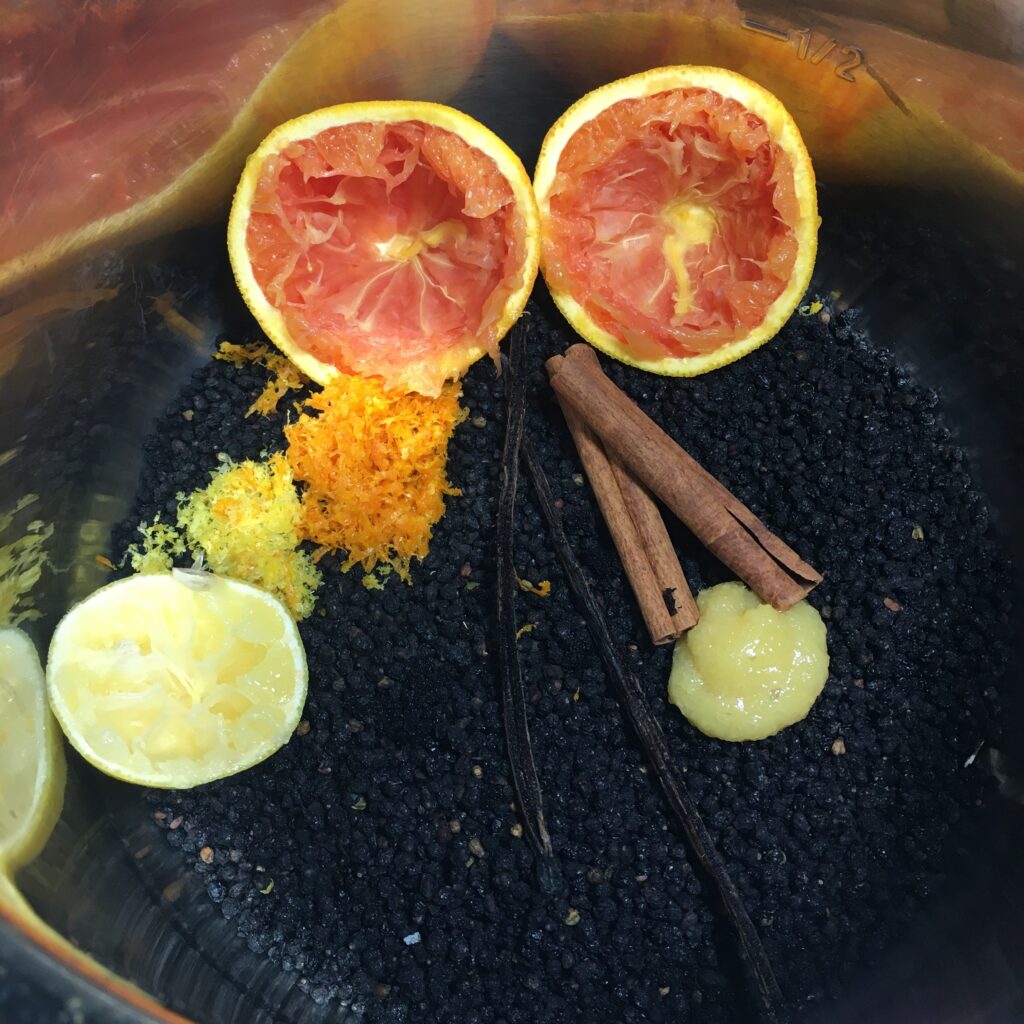
Put everything except the honey into the Instant Pot.
Add 6 cups of water.
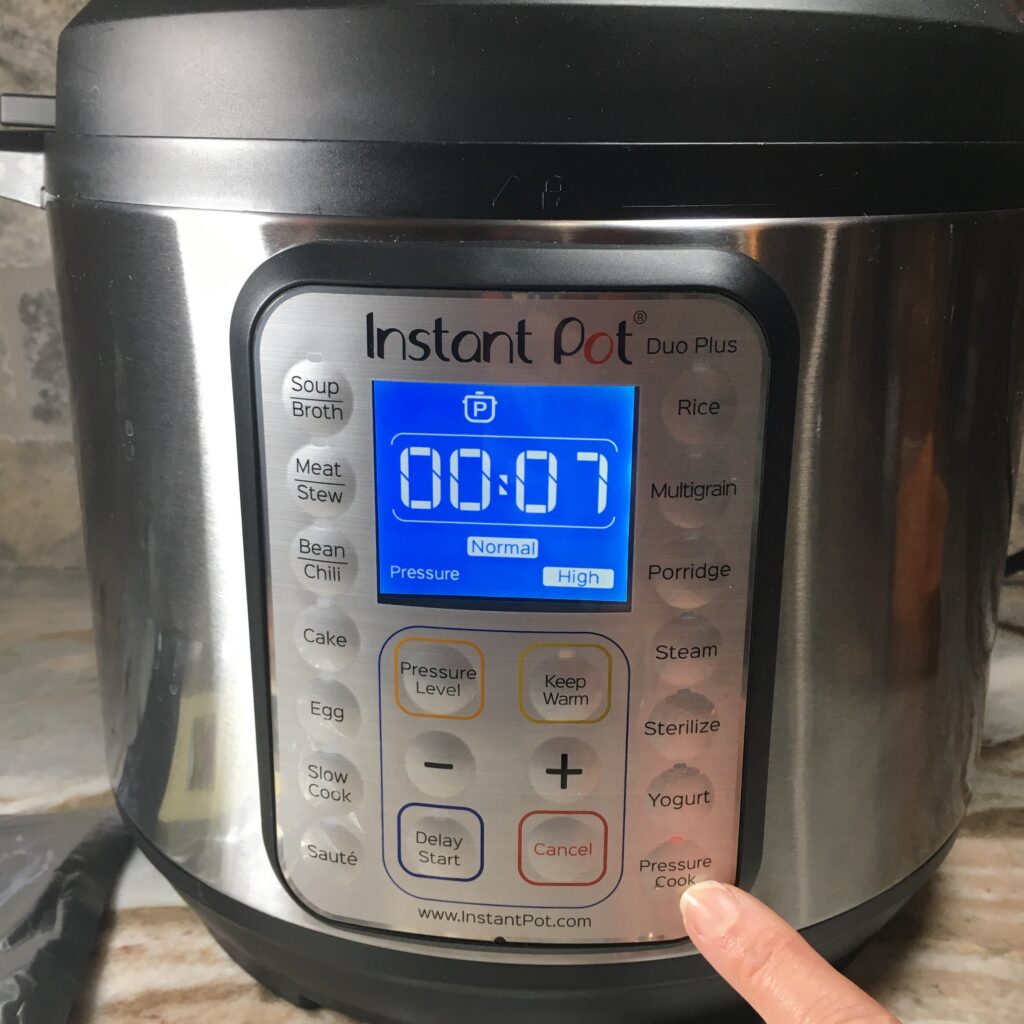
Pressure Cook for 7 minutes, release pressure.
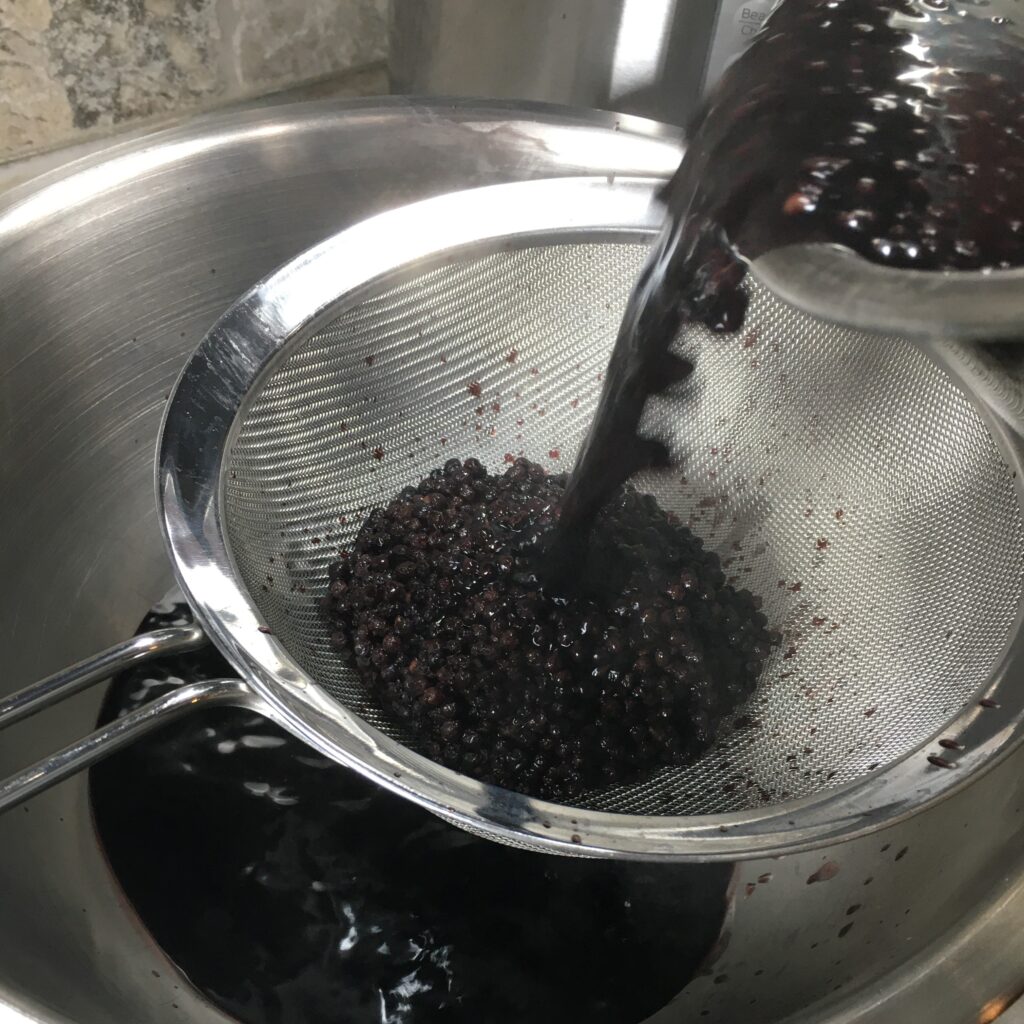
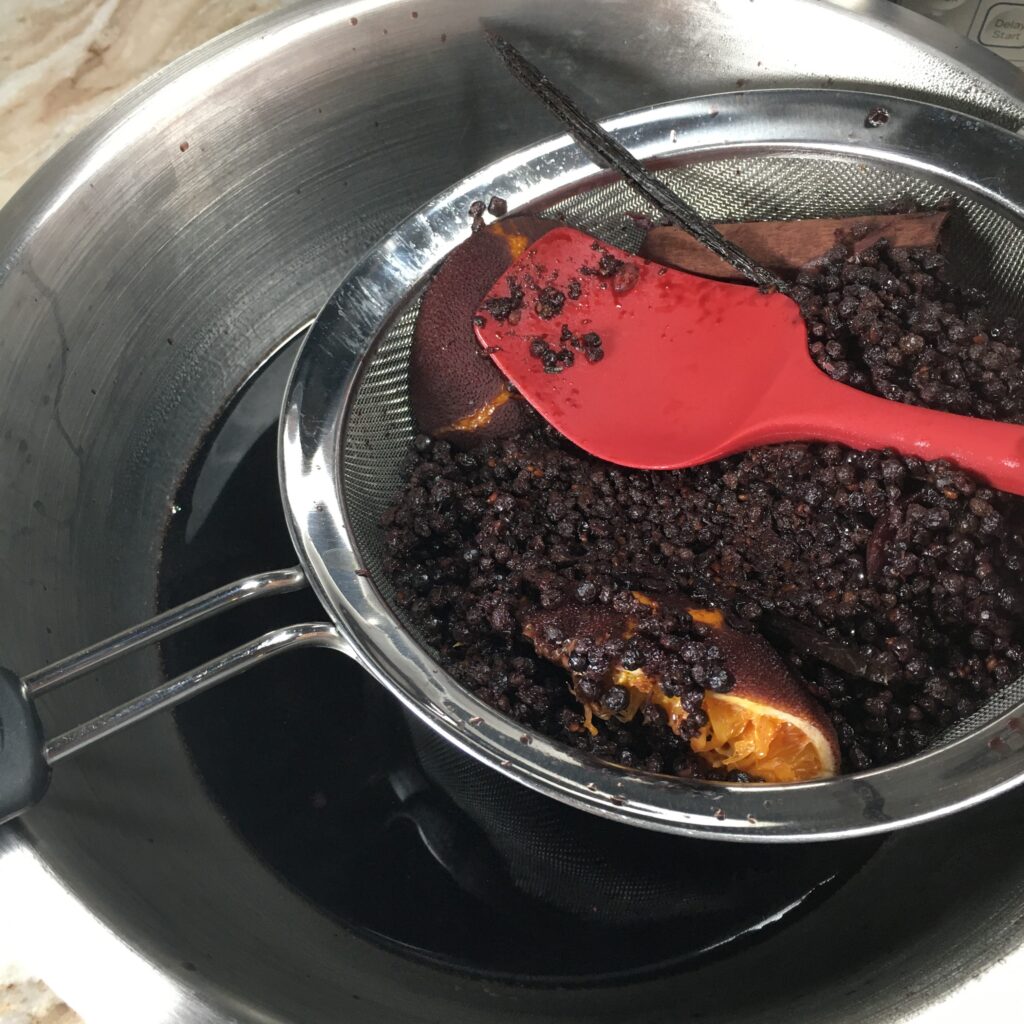
Strain into another container to cool. Be sure to press the cooking ingredients to extract every drop of goodness!
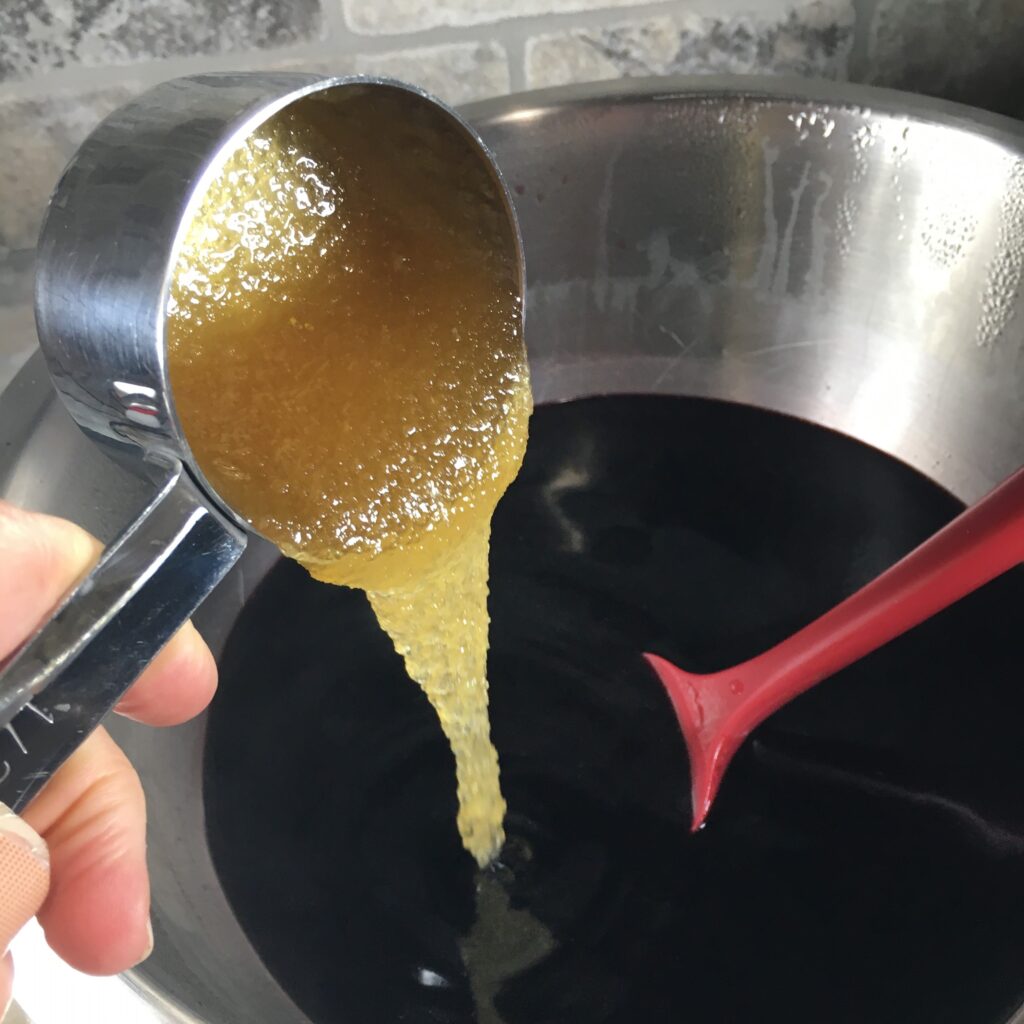
Once it stops steaming, stir in the honey.
pour into glass jars and keep it in the fridge.

Elderberry: Fast Track Your Recovery
48
ounces5
minutes20
minutes25
minutesIngredients
2 cups dried organic elderberries
2 cinnamon sticks
1 vanilla bean pod, split and scraped
1 orange, zested and juiced (all of it goes in!)
1/2 lemon, zested and juiced (all of it goes in!)
1 Tbsp fresh ginger, peeled
1 tsp whole cloves (optional if you like spice!)
6 cups water
1/2 cup LOCAL RAW honey
Directions
- Place all ingredients EXCEPT honey into the instant pot.
- Close the vent and seal the lid. Set Instant Pot to high pressure for 7 minutes.
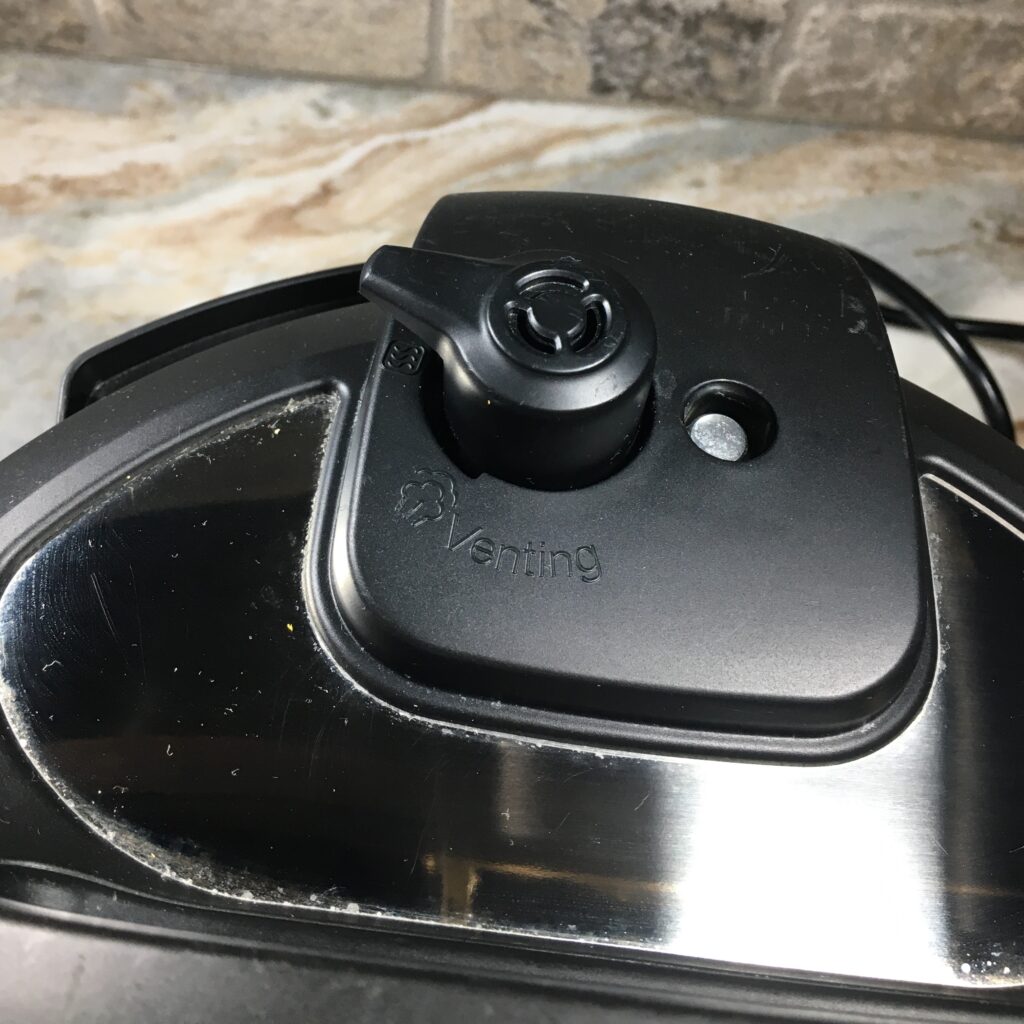
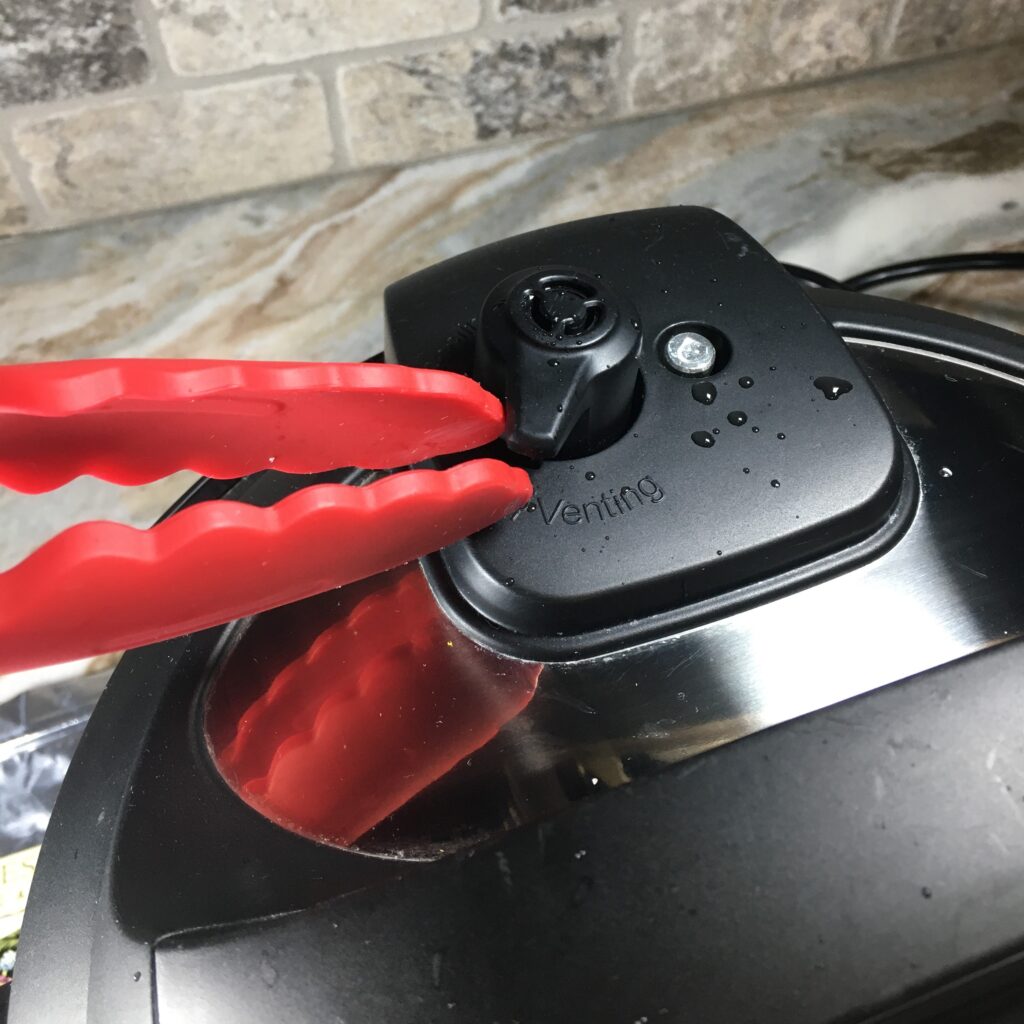
- When high pressure setting has concluded, use tongs to safely move the vent on the lid to venting to manually release pressure. It will steam and spit.
- Pour contents of pressure cooker into a strainer set over a large bowl. Press on the cooked ingredients to extract as much liquid as possible.
- Wait 10-15 minutes. When the liquid stops steaming, stir in the honey.
- Pour the elderberry juice into clean glass containers and store in the refrigerator. Elderberry juice will keep for 2-3 months in the refrigerator.