It’s beginning to look a lot like….cookie season!
Actually, I think every season is cookie season. This is just the time of year when the rest of the world seems to align their cookie intentions with mine. Even my mother-in-law, who prefers cooking over baking, makes a few signature cookies to celebrate the season.
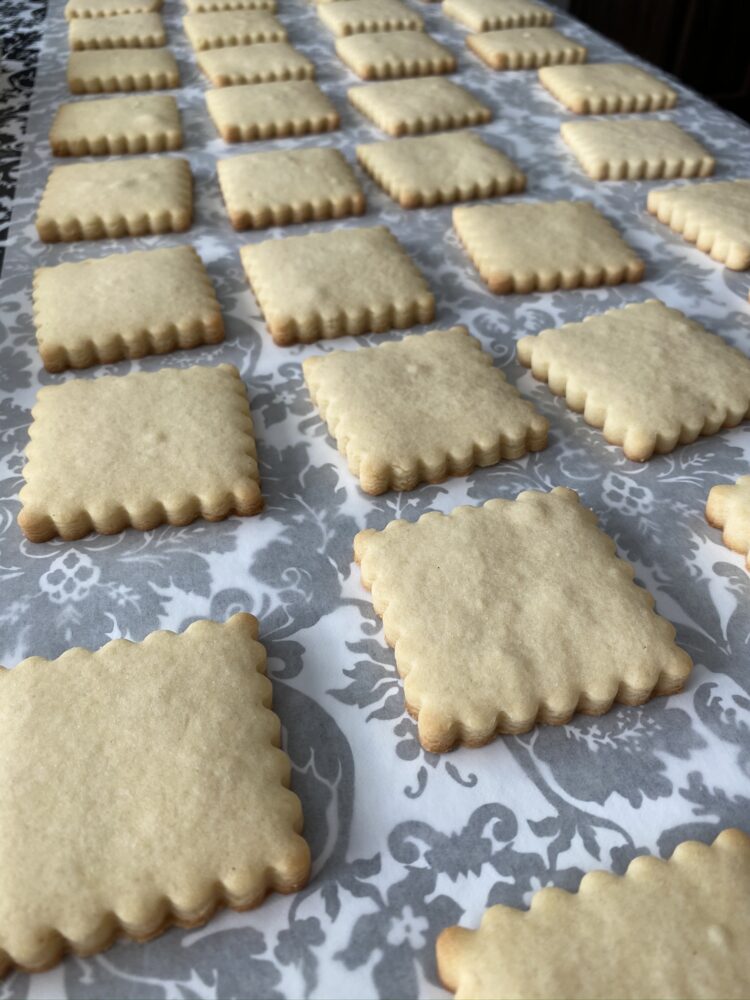
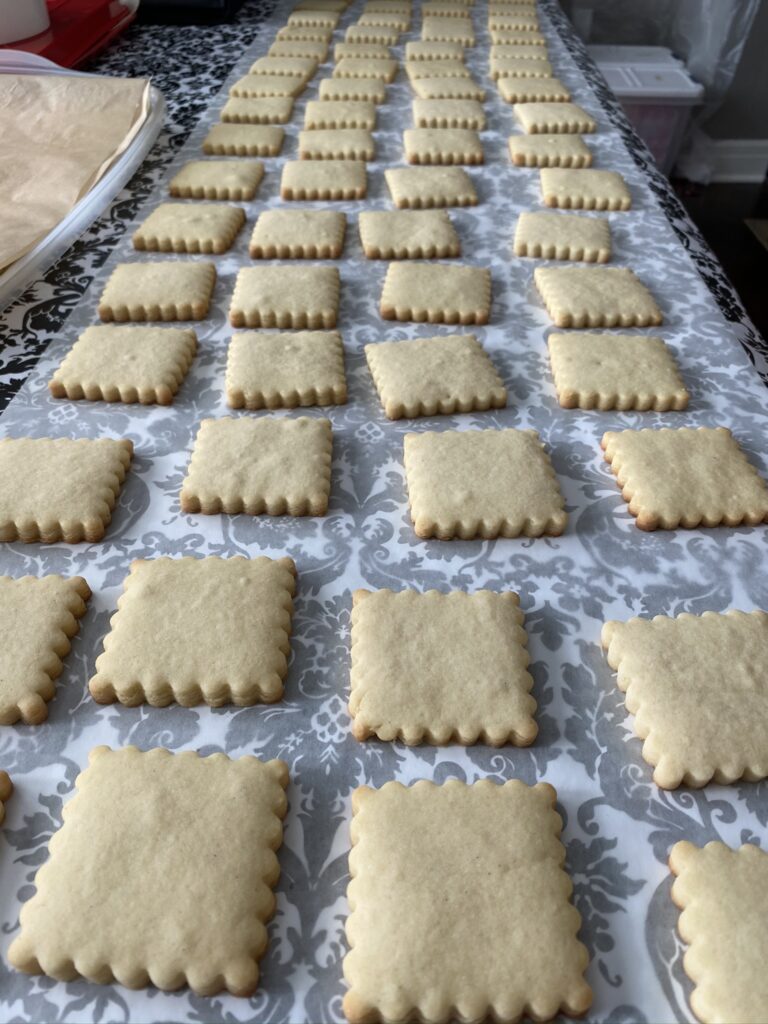
If decorating cookies is something you hope to do for others or with others, this cookie recipe is a good one. These cookies are THICK and hold their shape.
Technique is key if you want to have thick cut out cookies that hold their shape. And don’t panic, the technique may have a couple more steps, but is actually much easier to work with and manage than the traditional techniques you may be used to using.
The recipe for these cookies came from my sisters, who have taken some cookie courses and picked this recipe up from one of the courses. I modified the technique from another cookie course, and found my happy cut out cookie place. The recipe doubles well!
Let’s talk technique:
- Use high quality vanilla, vanilla bean paste, or almond extract to get the best flavor in your cookies. I prefer VAIN vanilla baker’s blend for this cookie.
- Roll the dough before you chill it. This is the opposite of what most of us have been doing our whole lives. Let me just tell you….this method is much easier on the arms, and your cookies won’t have cracking and funky surface issues. It also makes it easy to move the cut cookies to the cookie sheet without breakage or shape distortion.
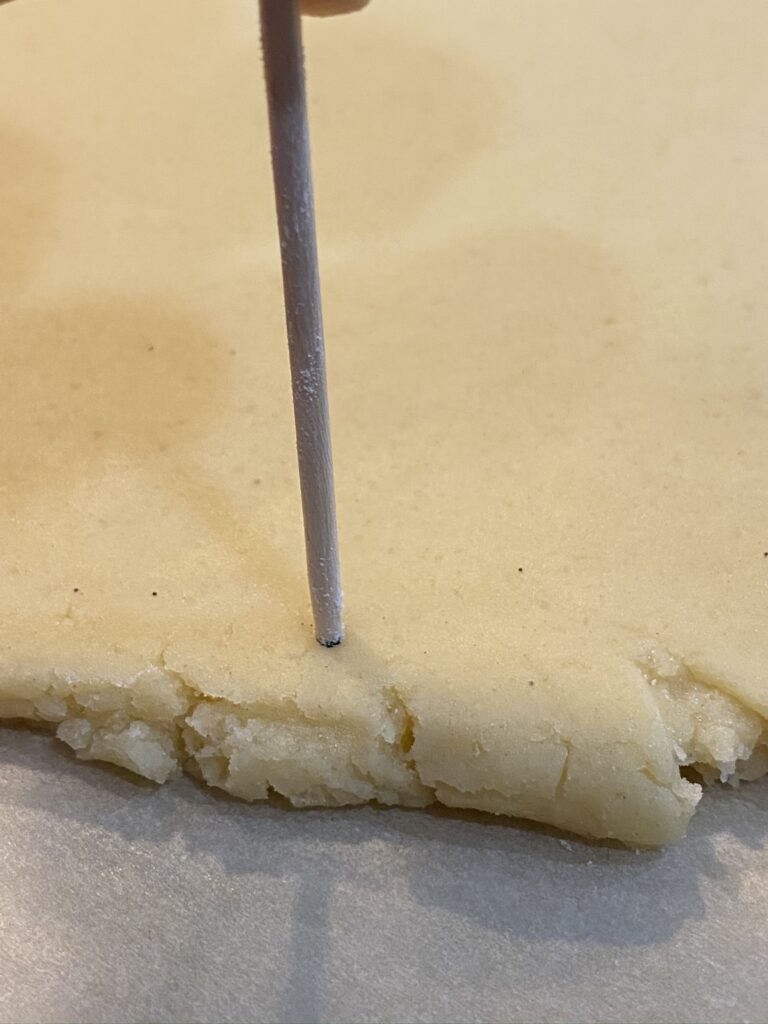
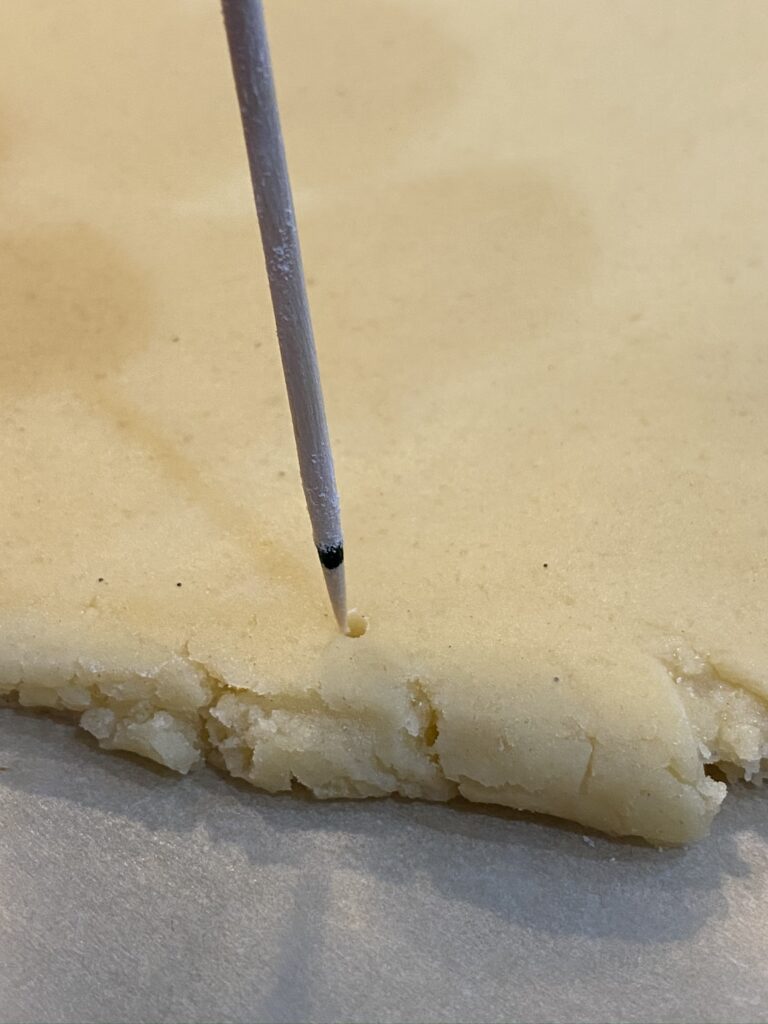
- If you don’t have those nifty rolling pin rings to help you determine how thick your dough is, mark a toothpick and check around the edges of your dough to make sure you have consistent thickness.
- Chill the dough again after cutting. This will help ensure that your cookie doesn’t spread while baking.
- Watch your cookies while they bake. When that golden edge is starting on the bottom, be ready to pull them out.
- Cool the cookies on the cookie sheet.
- Ice with royal icing, buttercream frosting, or marshmallow fondant.
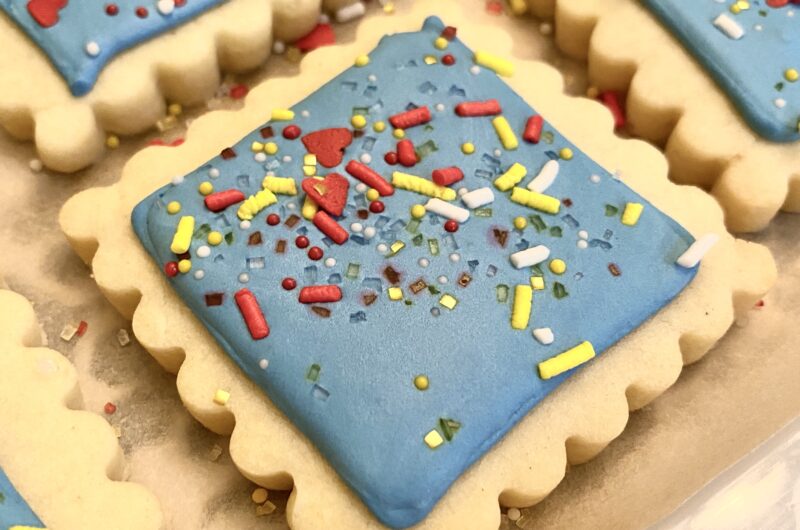
How you frost your cookies is totally up to you. I personally like a traditional buttercream for the flavor, but it doesn’t always deliver on clean lines and elegance. The cookies pictured were made with a royal icing. I definitely need to work on my royal icing technique!

Kid Tip! If you are making these with kids, go with a buttercream that is easy for them to spread, and then give them sprinkles and other candies they can use to top their creations. Kids LOVE the creative power…and licking their fingers while they work.
Kid Tip 2! Give each child a tray with their own cookies, frosting, and muffin cups of toppings. This will ensure that each child gets to frost the same number, avoids any worries over cross usage/sharing germs, and helps the grown ups know which cookies belong to which kids. Even kids who are the best at sharing, like to take ownership over who eats their creations and when!
MAKE AHEAD TIP! You can bake these cookies a day before frosting to ensure the cookies are not too warm when you begin frosting them. They can also be made in advance frozen in freezer bags for up to 60 days. This is an ideal way to manage your time during a busy season, or just have cookies ready for an impromptu decorating activity!
I will strive to add more technique photos/videos and links to royal icing recipes whenever I make more batches.
Cut Out Sugar Cookies
Course: Dessert16
servings1
hour10
minutesIngredients
2 1/3 cups unbleached all purpose flour + extra for dusting
1 tsp vanilla salt
1 tsp baking powder
3/4 cup unsalted butter room temperature
1/2 cup + 2 Tbsp granulated sugar
1 large egg
1 tsp vanilla extract (or almond if you prefer)
Frosting/toppings of your choice, buttercream, royal, or marshmallow fondant.
Directions
- In a medium bowl, sift together, flour, salt, and baking soda.
- In the bowl of a stand mixer fitted with the paddle attachment, beat the butter and sugar on medium speed until light and fluffy. (At least 2 minutes.) Add the eggs and vanilla and beat until combined.
- Turn the mixer down to low speed. Add the flour mixture in two additions, scraping down the bowl after each addition. Beat just until combined.
- On a sheet of parchment paper, roll the room temperature dough into a sheet 1/4 inch thick. You will need to dust the parchment and your rolling pin with flour.
- Cover the rolled out sheet with plastic wrap or parchment and refrigerate 60 minutes. (Sometimes you can get away with 30, as long as you do not skip step 8.)
- While the dough is chilling, preheat your oven to 350° F and line cookie sheets with parchment paper or silicone mats.
- Remove chilled dough from the refrigerator and cut into desired shapes and place on the cookie sheets. You will need to re-roll scraps into another sheet and chill it in the fridge again for the best results.
- Chill the cut cookies in the freezer for 10 minutes before placing in the preheated oven to bake.
- Bake for 10-13 minutes (checking for when the edges begin to brown in the centers no longer appear wet). Remove from the oven and cool on the cookie sheets.
- Allow the cookies to cool several hours or overnight for best results when frosting. Cookies can also be baked, cooled, then frozen in freezer bags for up to 60 days before frosting.